Ripping to two or more formats e.g. FLAC and MP3
The ZoneRipper factory setting is to rip all CDs to FLAC. These instruction show how you may change the output format and also rip to two or more formats. You may for example wish to rip to lossless FLAC for your Linn or Sonos system and also have copies of the same music in MP3 available to load to you portable player e.g. Apple iPod.
You may change the main ripping format use these instructions:
- Use "Remote Desktop" available on Windows or Mac computers to connect to the ZoneRipper (or the "Windows Home Server Connector" on Windows if installed). The computer name is ZoneRipper and use the username administrator and corresponding password (included with product documentation). Once connected to the remote desktop click "Windows Home Server Console"

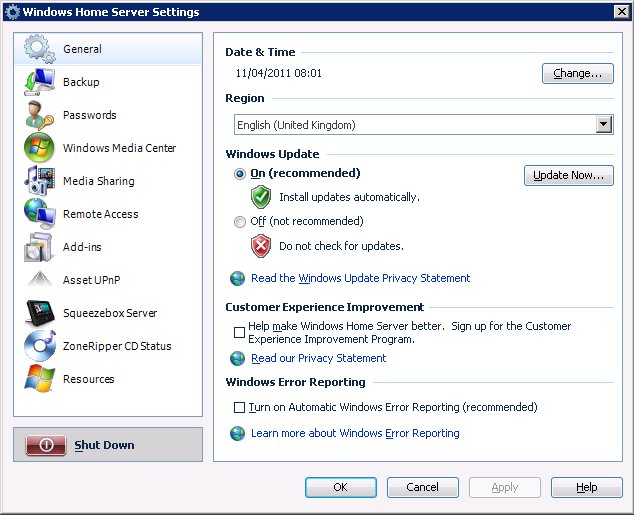
- Click on the Settings link in the top right of the Windows Home Server Console main screen
- Click on the ZoneRipper CD Status icon in the left hand column list.
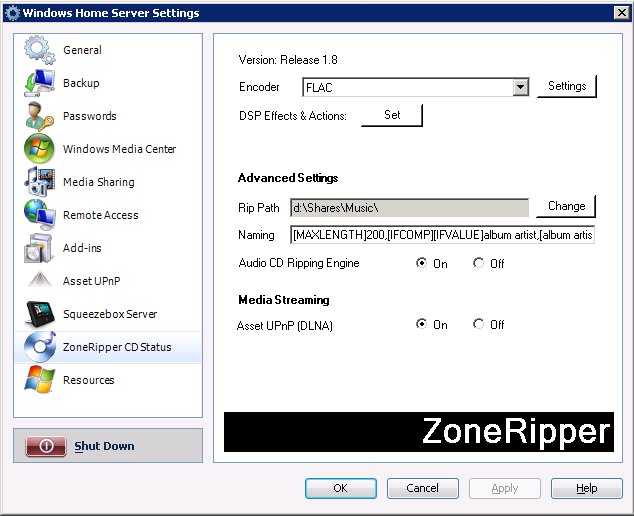
- Select the required Encoder from drop down list (FLAC, Apple Lossless, MP3, Wave, Windows Media, or Multi Encoder).
- Click on the Settings button to the right of the encoder drop down list to adjust the settings for the encoder (if available).
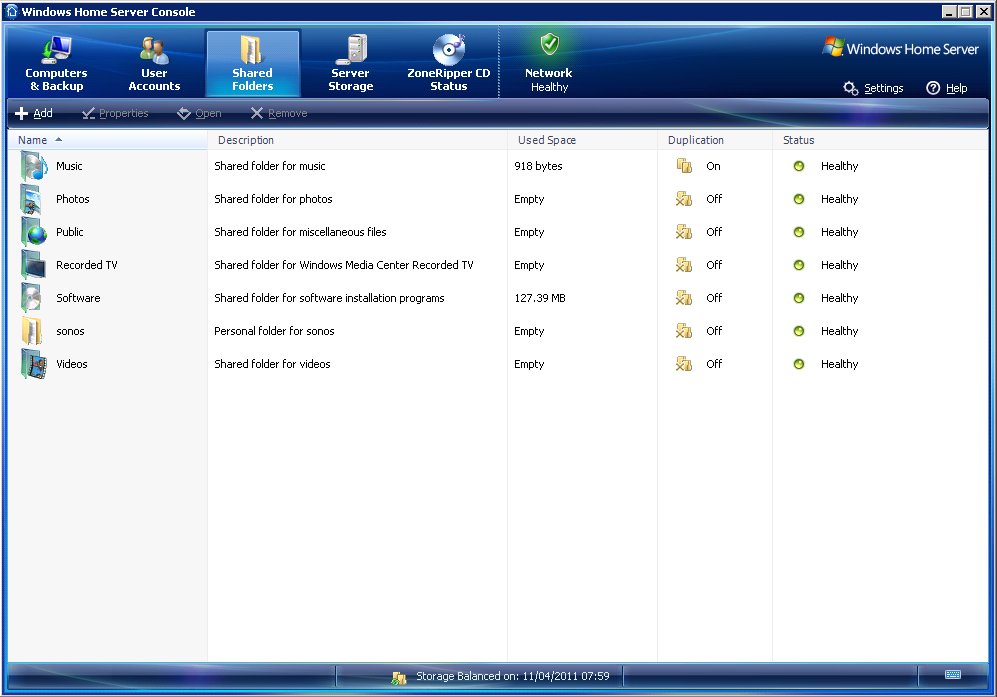
- Set the Rip Path folder D:\shares\Music (this corresponds to \\ZoneRipper\Music when accessed over the network)
- Set the Naming setting to be:
[MAXLENGTH]200,[IFCOMP][IFVALUE]album artist,[album artist],Various Artists[]\[album]\[track] [artist][][IF!COMP][IFVALUE]album artist,[album artist],[artist][]\[album]\[artist] - [track][] - [title][]
Ripping to more than one format
You may rip into more than one format using the following instructions:
- Use "Remote Desktop" available on Windows or Mac computers or the "Windows Home Server Console". The computer name is ZoneRipper and use the username administrator and corresponding password (See Remote Desktop Connection to Windows Home Server)
- Click on the Settings link in the top right of the Windows Home Server Console main screen
- Click on the ZoneRipper icon in the left hand column list.
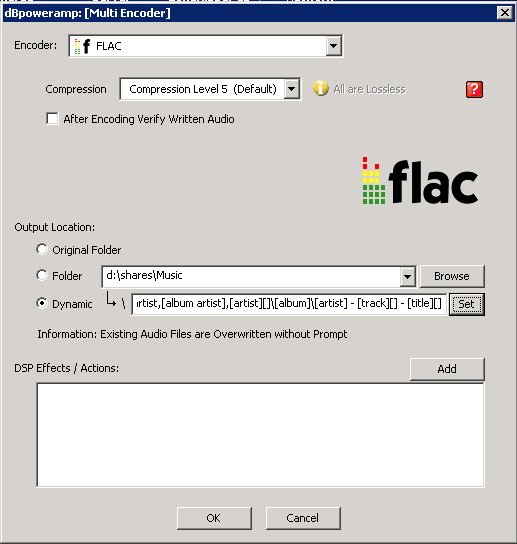
- Select the "Multi Encoder" Encoder from drop down list.
- Click on the Settings button to the right of the encoder drop down list to add/remove encoders.
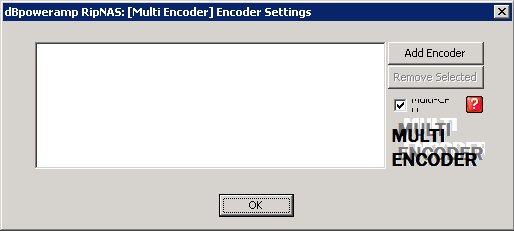
- Click the "Add Encoder" button
- Select the required encoder and any encoder specific settings. The example shown is for FLAC.
- Set the Folder folder D:\shares\Music (this corresponds to \\ZoneRipper\Music when accessed over the network)
- Set the Dynamic setting to be as in the example above
- Click OK to save the encoder settings
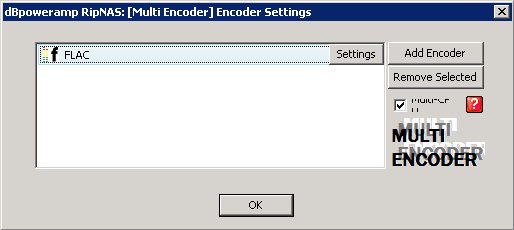
- Click "Add Encoder" button again to add a second encoder (MP3 in this example)
- Select the required encoder and any encoder specific settings. The example shown is for MP3.
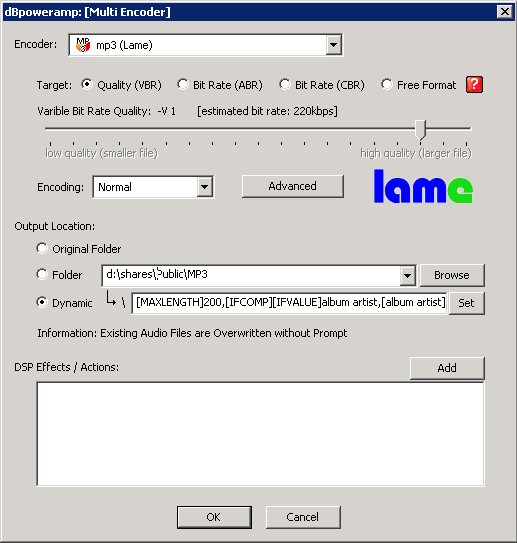
- Set the Folder folder D:\shares\Public\MP3 (this corresponds to \\ZoneRipper\Public\MP3 when accessed over the network).
- Set the Naming setting to be:
[MAXLENGTH]200,[IFCOMP][IFVALUE]album artist,[album artist],Various Artists[]\[album]\[track] [artist][][IF!COMP][IFVALUE]album artist,[album artist],[artist][]\[album]\[artist] - [track][] - [title][]